When you create a Time Map, the green, yellow, and red hours will repeat for all weeks. However, you are able to amend a specific week if you like. For example, let’s say that next Tuesday you want to start work late and end late. You can navigate to the specific week in the Time Map, and edit your changes. Once you click on save, you will be given three options:
- Apply the changes to a specific week only.
- Apply the changes to a specific week and all following weeks.
- Apply the changes to all weeks.
In the above example, the first choice is the right one because you only want to change next Tuesday.
Time Map Interval
When creating a new Time Map, you can set it to repeat every week, every 2 weeks, or every 3 weeks. This can be particularly helpful when you have a shift schedule that repeats every 2 or 3 weeks. You can create two or more Time Maps to represent the alternating weeks.
Navigating Time Map Weeks
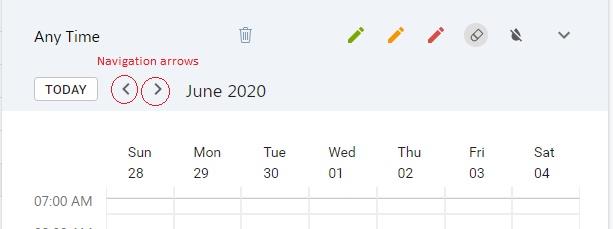
To see or edit a specific week in a Time Map, use the navigation icons to go back or forward in time:

Adjusting Your Time Map for a Specific Date
As mentioned earlier, to adjust your Time Map for a specific week:
- Go to the Settings->Time Maps (CTRL (⌘ ) + SHIFT + E)
- Find and click your Time Map name from the list on the left.
- Navigate to the right week.
- Edit your changes and click Save
- Choose ‘Apply the changes to this week’
Designing Time Maps for Alternating Work Shifts
Let’s assume you have a shift schedule that alternates every week. So, we want to create two Time Maps: The first is for this week and every other week. And, the second Time Map is for next week and every other week following it.
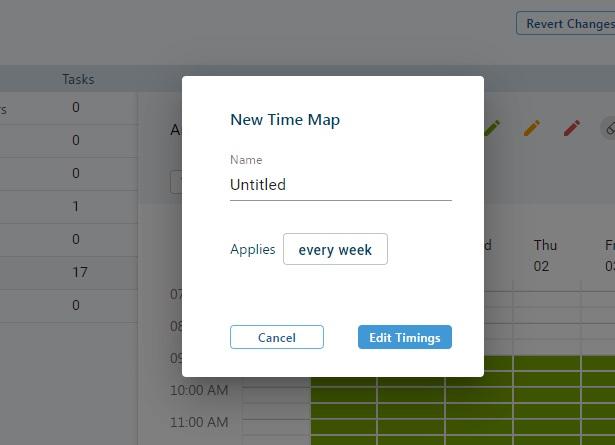
1- Click on the ‘Plus’ sign at the top left of the screen to add a new Time Map

2 – Give your Time Map a name like ‘Shift Schedule – 1’
3 – Click on ‘Every Week’ to change

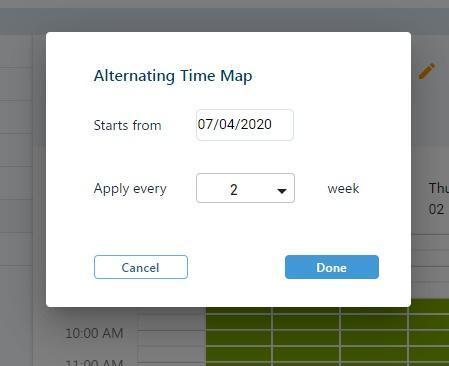
4 – On the new form, select ‘Apply every 2 weeks
5 – Click on ‘Done’ to close this form, and then click on ‘Edit Timings’. Make sure you are viewing the current week. Now edit your Time Map to reflect your schedule for the current week.
6 – Click on ‘Save’ at the top right of the screen.
You now have your first shift schedule for the current week, two weeks later, four weeks later, etc. You can navigate the Time Map to the following weeks to ensure your Time Map is properly created.
Let’s now create your next Time Map to support the missing weeks.
Repeat steps 1 to 6 as in the previous set of instructions except that you give this a new name like ‘Shift Schedule – 2’
Use the navigation arrows to go the next week. Now edit your Time Map to reflect your schedule for NEXT week.
Click on ‘Save’ at the top right of the screen.
So, if you want to assign the correct Time Maps to a task, you will need to add both of your Time Maps to the task:

Scheduling Personal Tasks During Work Holidays
If you have set up a holiday calendar, you can choose to ignore these holidays on certain Time Maps. For example, if you have an evening Time Map that you use for your evening routines, you do not want public holiday events to block your personal tasks from getting scheduled. To make this happen, go to the correct Time Map and flip the ‘Ignore Holidays’ switch.
